

What to Expect During Your Roof Installation
A roof installation is one of the most significant investments you will ever make for your property. While the prospect of getting a secure, beautiful new structure is exciting, the actual process can feel a bit overwhelming for many homeowners. Understanding what happens from the initial preparation to the final cleanup can help ease your anxiety. Experienced professionals want you to know exactly what to anticipate so your project runs smoothly and efficiently.
Preparing Your Property for the Crew
Before the project begins, you must take several steps to protect your belongings and give the workers adequate space. A roof installation requires a massive amount of material, heavy equipment, and a large team of skilled laborers. Your contractor will need clear access to your driveway and the perimeter of your home.
You should complete these preparatory tasks a few days before the crew arrives:
- Clear the driveway: Park your vehicles down the street to keep them safe from falling debris and to leave room for the supply trucks.
- Secure your valuables: Remove fragile items from your shelves, take down framed pictures, and secure loose light fixtures. The vibrations from the heavy hammering can rattle your walls and cause items to drop.
- Protect your yard: Move your patio furniture, potted plants, lawn ornaments, and grills away from the active work zone. Cover sensitive bushes or flowerbeds with heavy-duty tarps to prevent accidental damage.
Taking these precautions ensures fewer accidents occur on your property and helps the crew get straight to work.
Stripping Away the Old Roofing Materials
The first official day of construction begins with the teardown phase, which is easily the loudest and messiest part of the process. The crew will place large trash dumpsters near your house and lay down massive tarps to catch discarded materials. Workers will use specialized shingle forks to rip away your old shingles, underlayment, and flashing.
Some homeowners wonder if they can save money by simply placing a new layer of shingles directly over their existing system. According to HomeGuide, adding new shingles over an old layer reduces overall demolition costs, but it shortens the lifespan of the new materials, and local building codes typically permit no more than two total layers of roofing. Stripping the system down to the bare bones is always the superior choice. This step allows the crew to inspect the wooden decking below for hidden rot, water damage, or structural sagging that needs immediate attention.
Repairing and Preparing the Wooden Decking
Once the old materials are completely removed, the crew evaluates the underlying wooden deck, which serves as the foundation for your new system. If the workers find rotted, cracked, or water-logged plywood boards, they must replace them before proceeding. Nailing new shingles to compromised wood will cause the entire structure to fail prematurely.
After making any necessary structural repairs, the team applies the critical layers of defense against moisture. First, they install an ice and water shield along the eaves, valleys, and rakes to prevent leaks from standing water or wind-driven rain. Next, they roll out a synthetic underlayment across the remaining portion of the deck to provide an extra layer of weather protection. This combination keeps your home dry and safe while satisfying the strict requirements of your manufacturer's warranty.
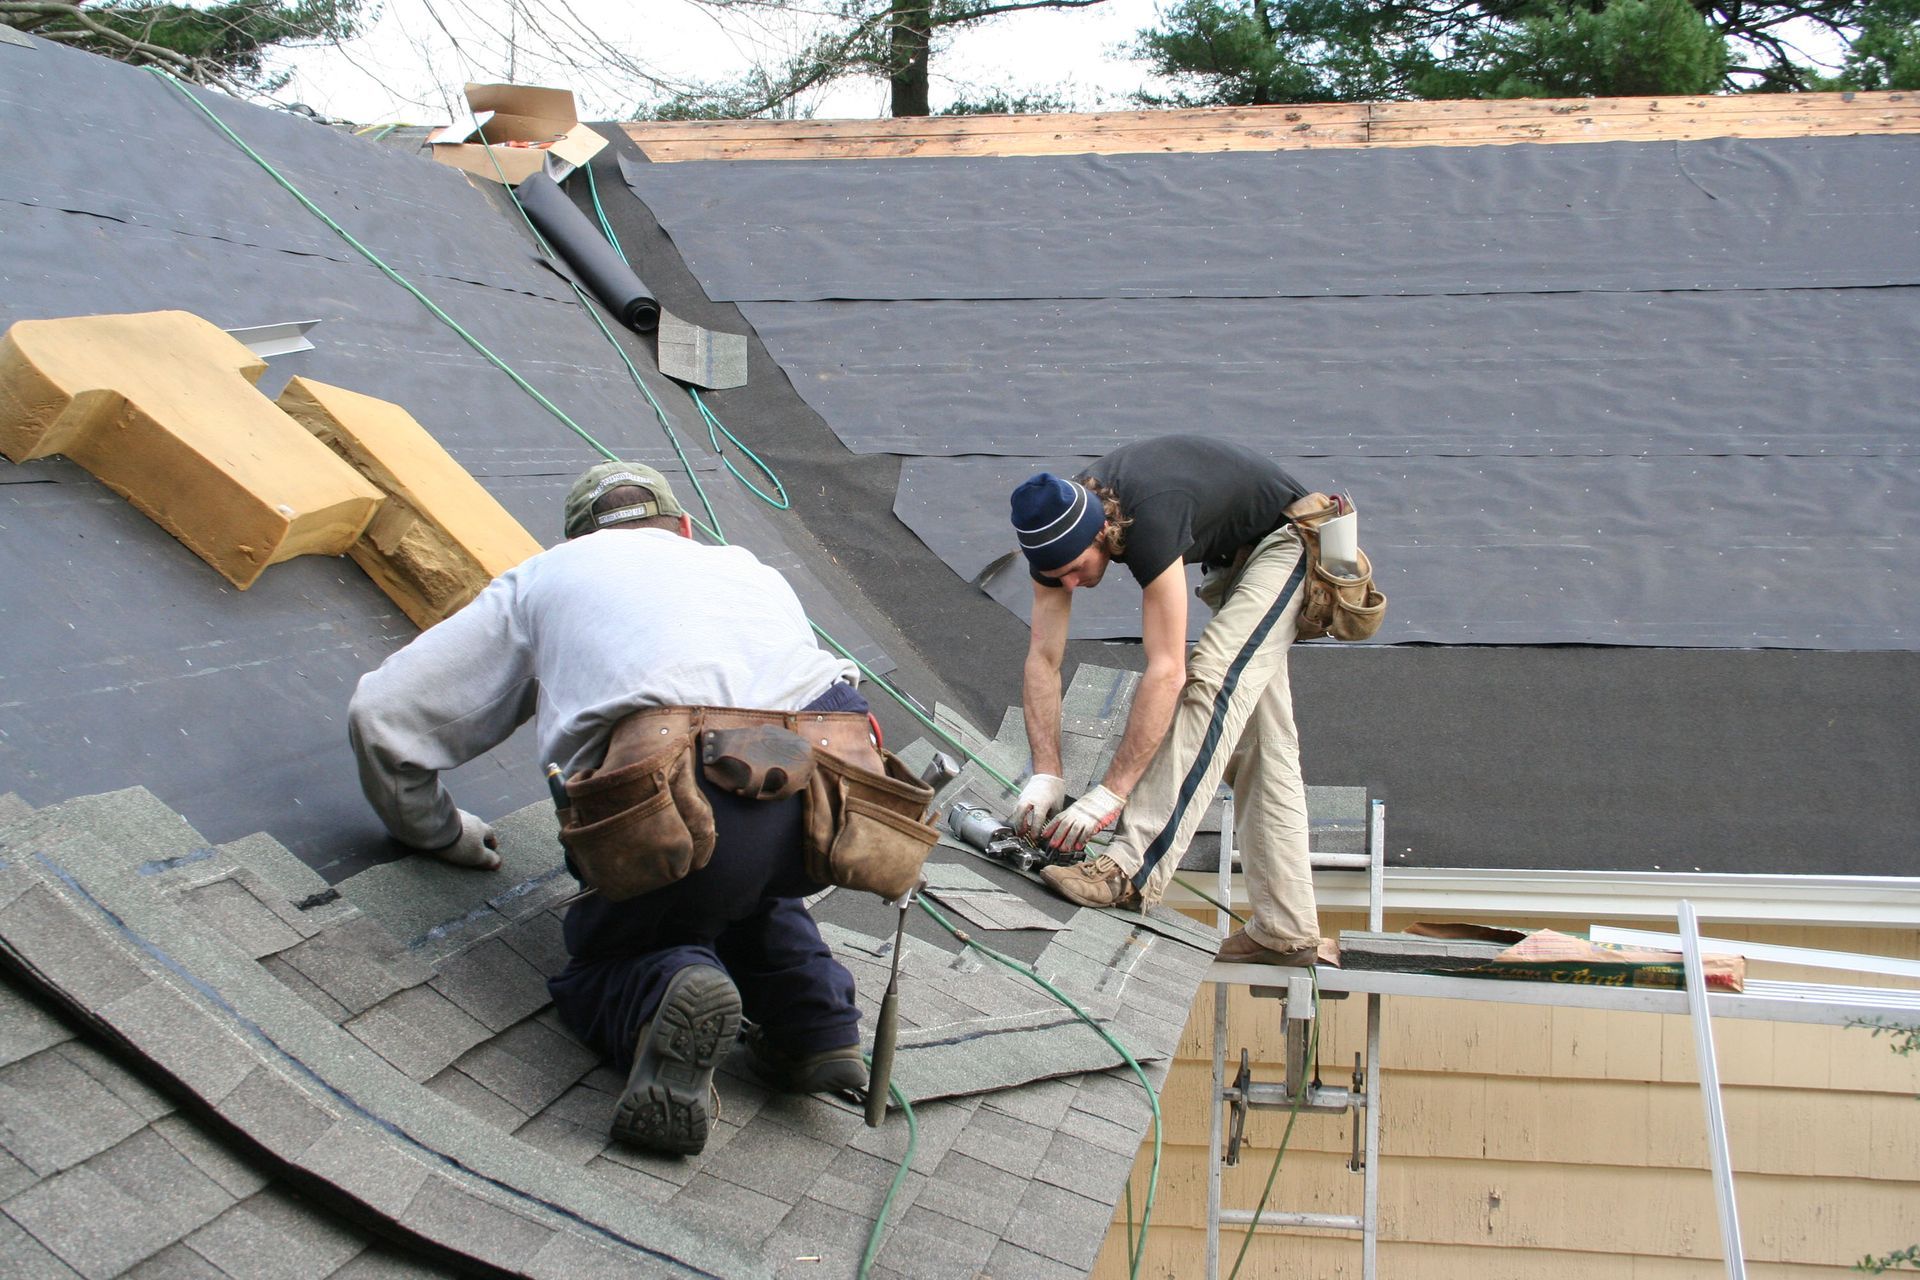
Installing the New Materials and Flashing
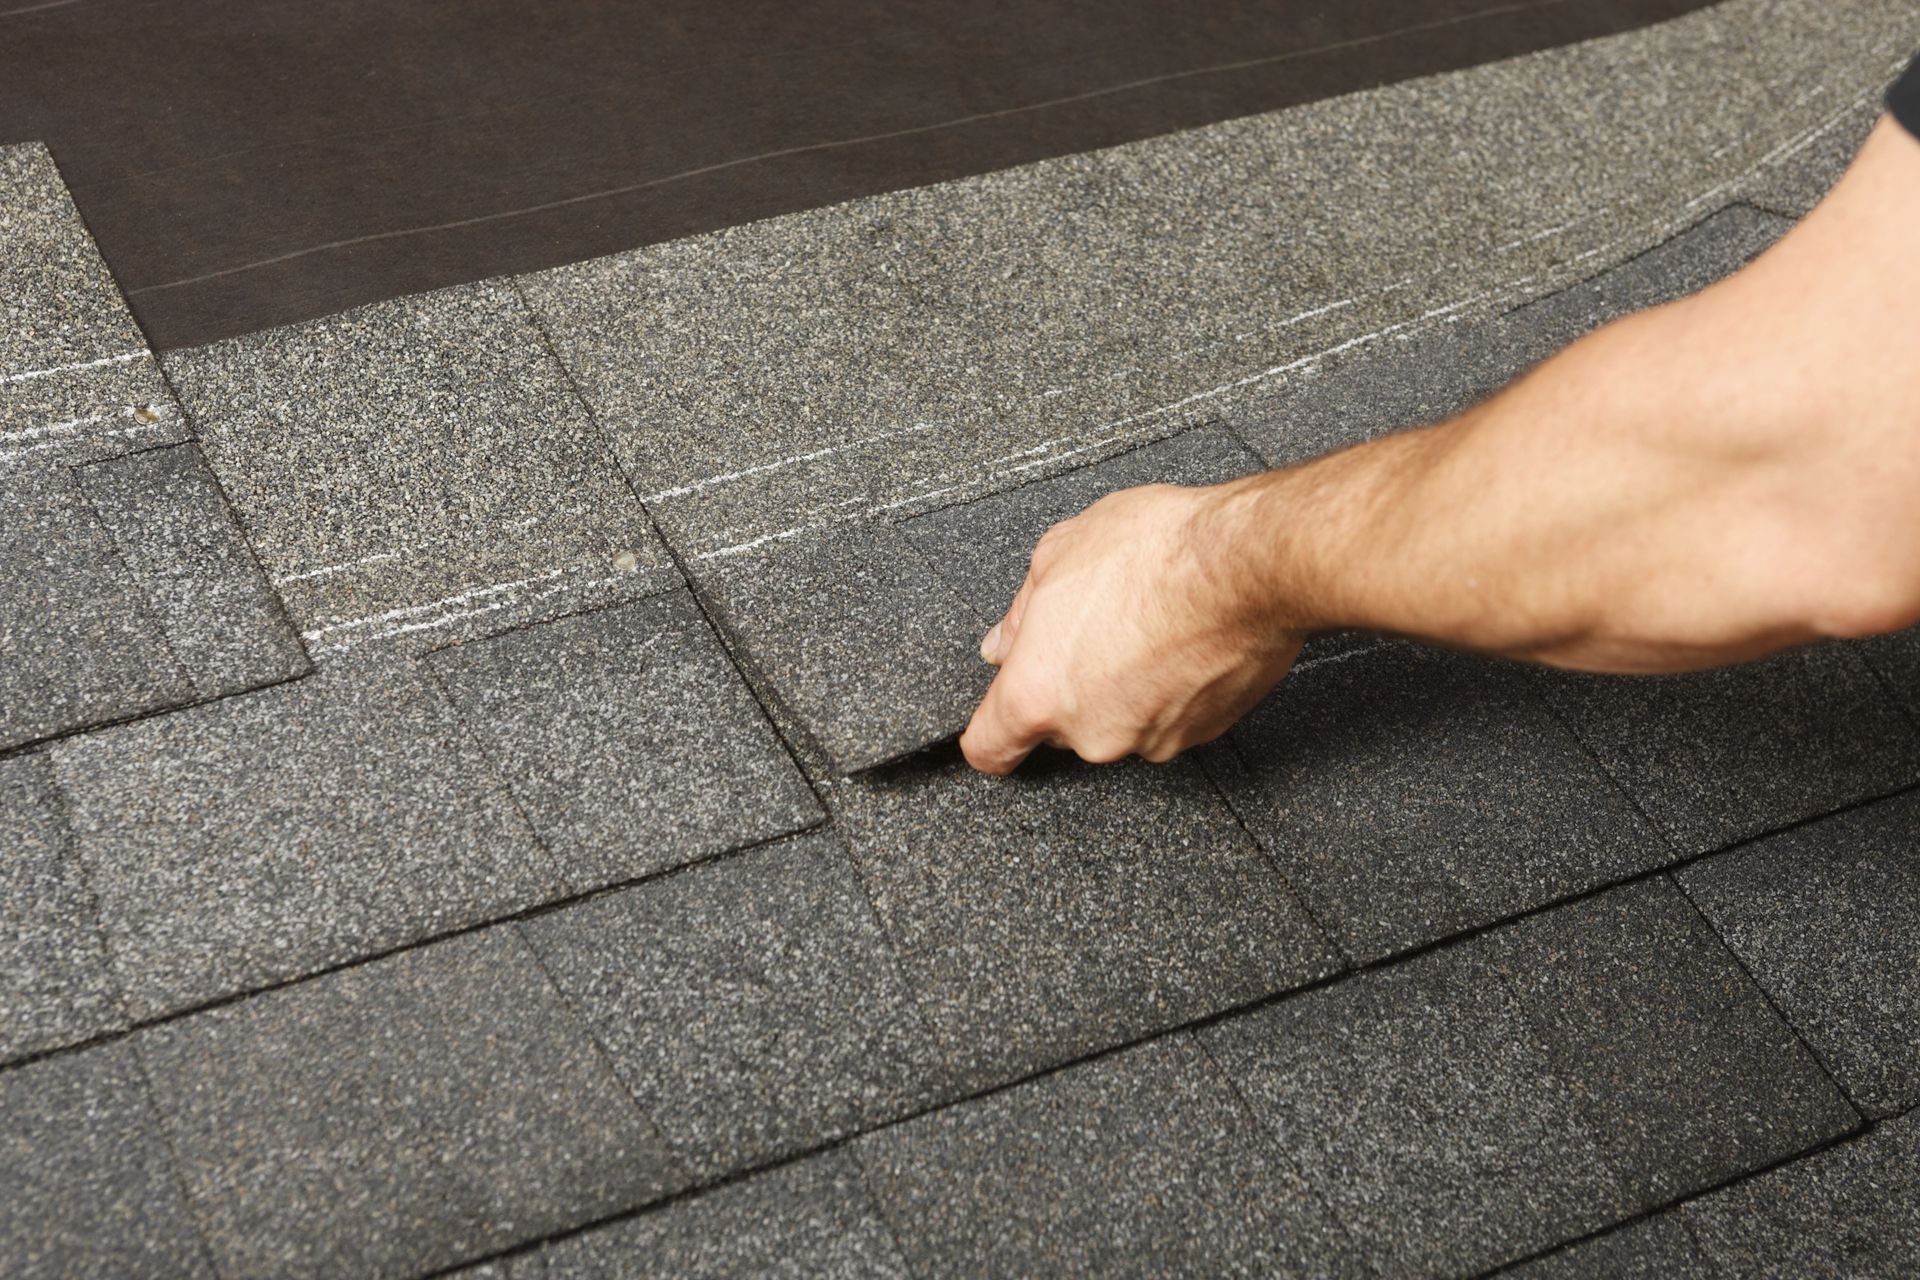
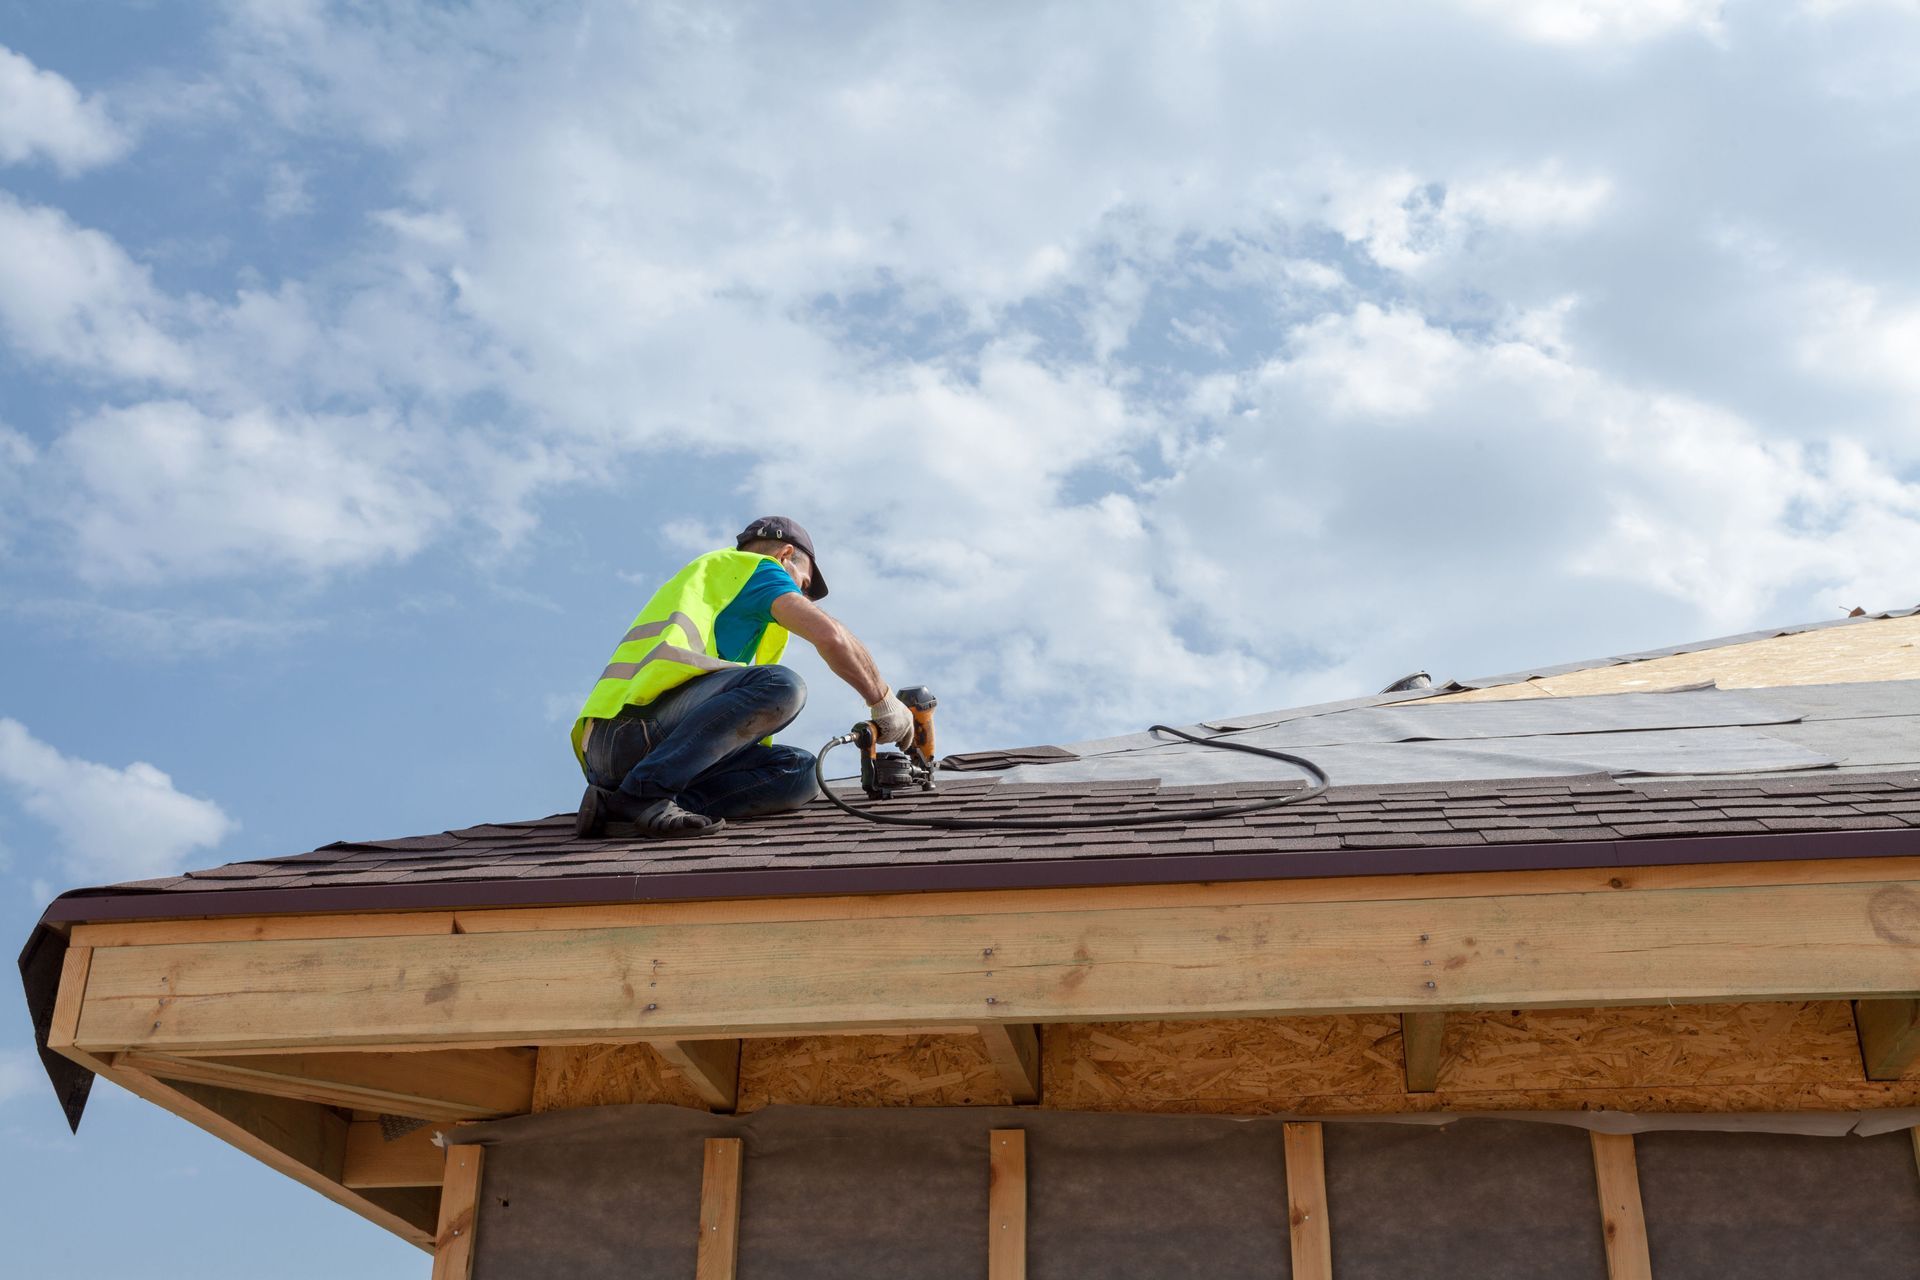
With the foundation properly repaired and waterproofed, the team can finally begin the actual roof installation. This phase is where you will see your home completely transform as the new shingles are meticulously applied from the bottom edges upward. The crew uses precise measuring lines and high-powered nail guns to ensure every single piece is straight and secure.
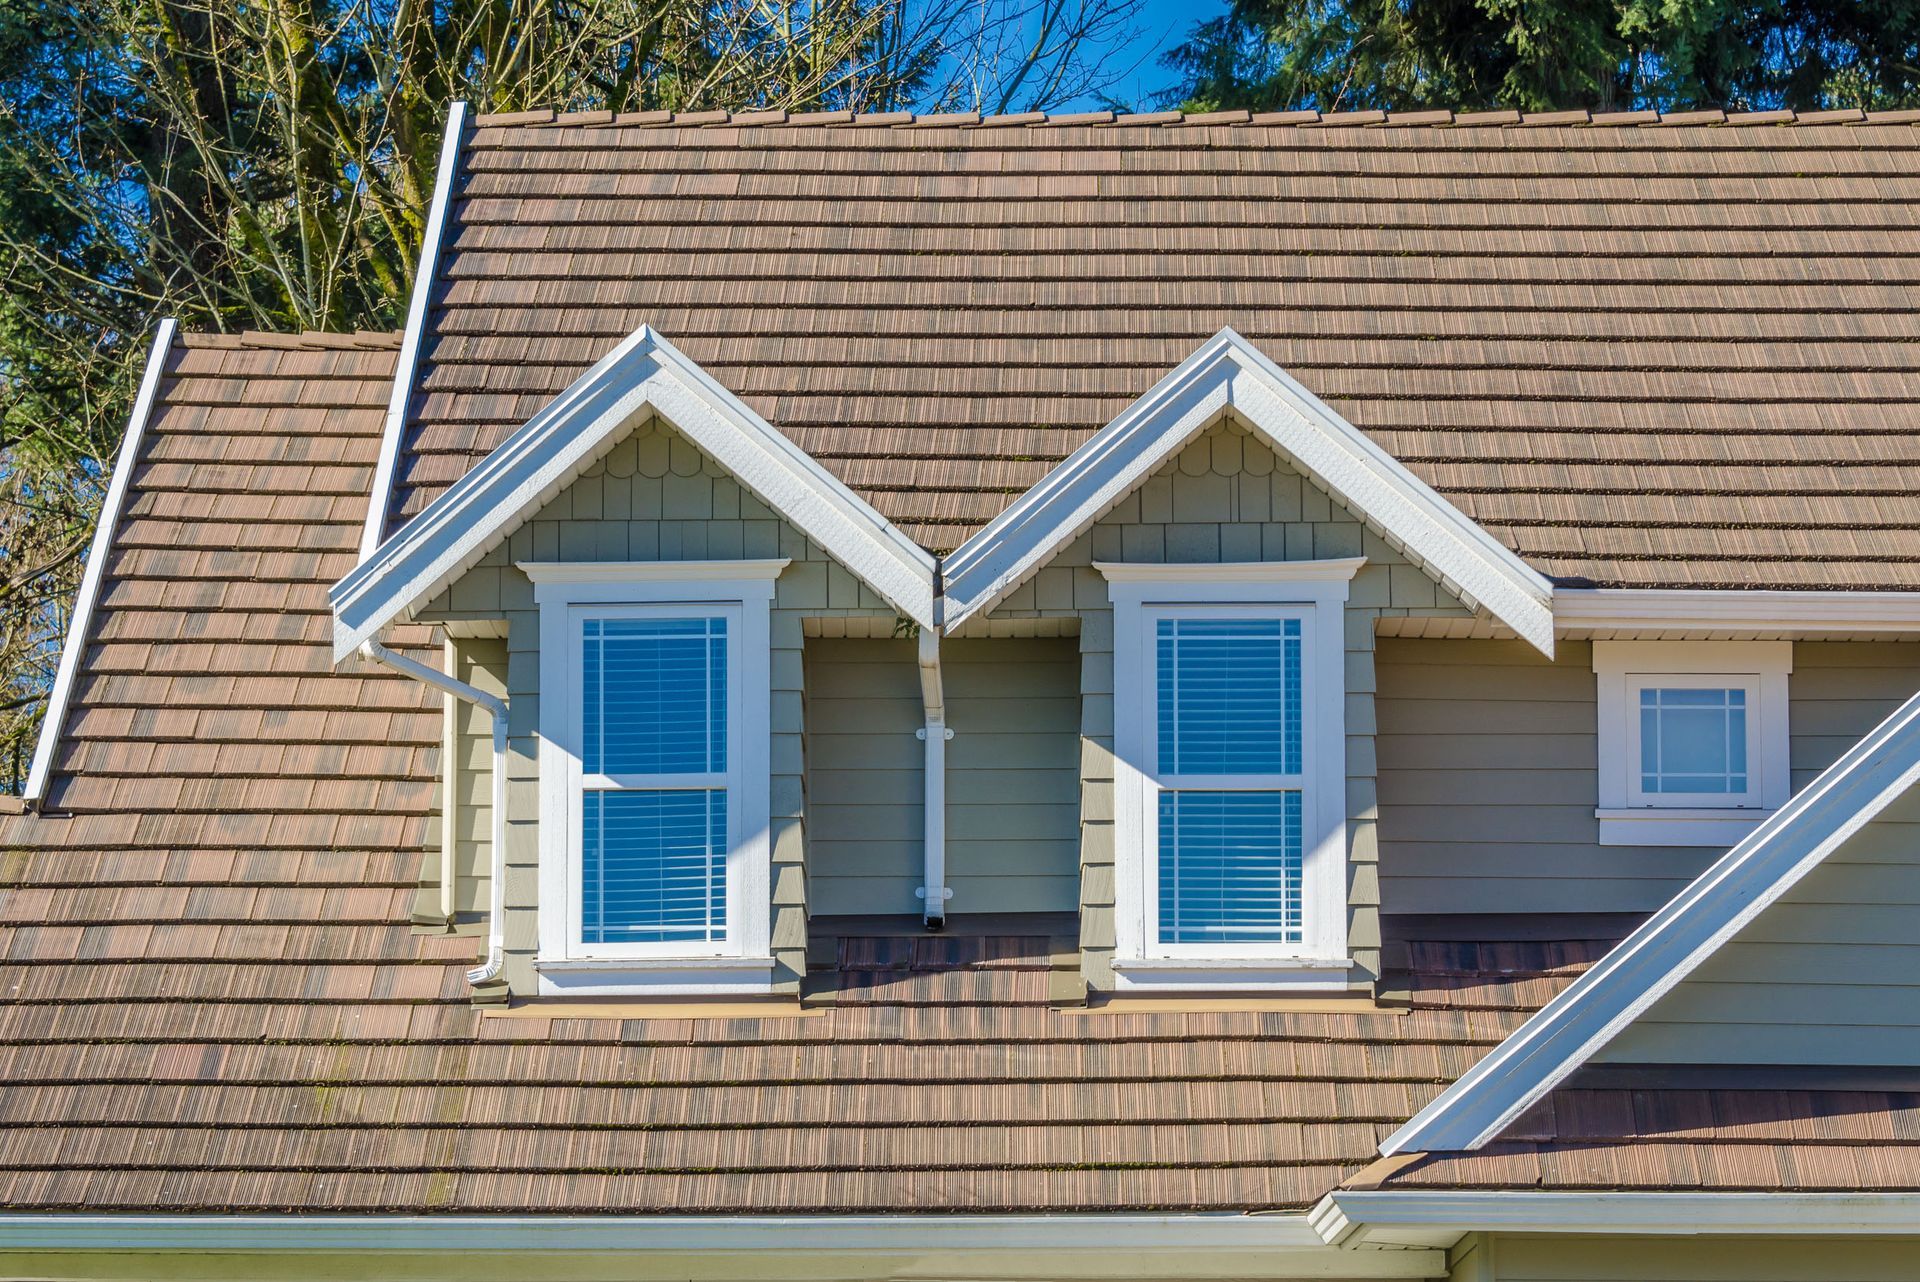
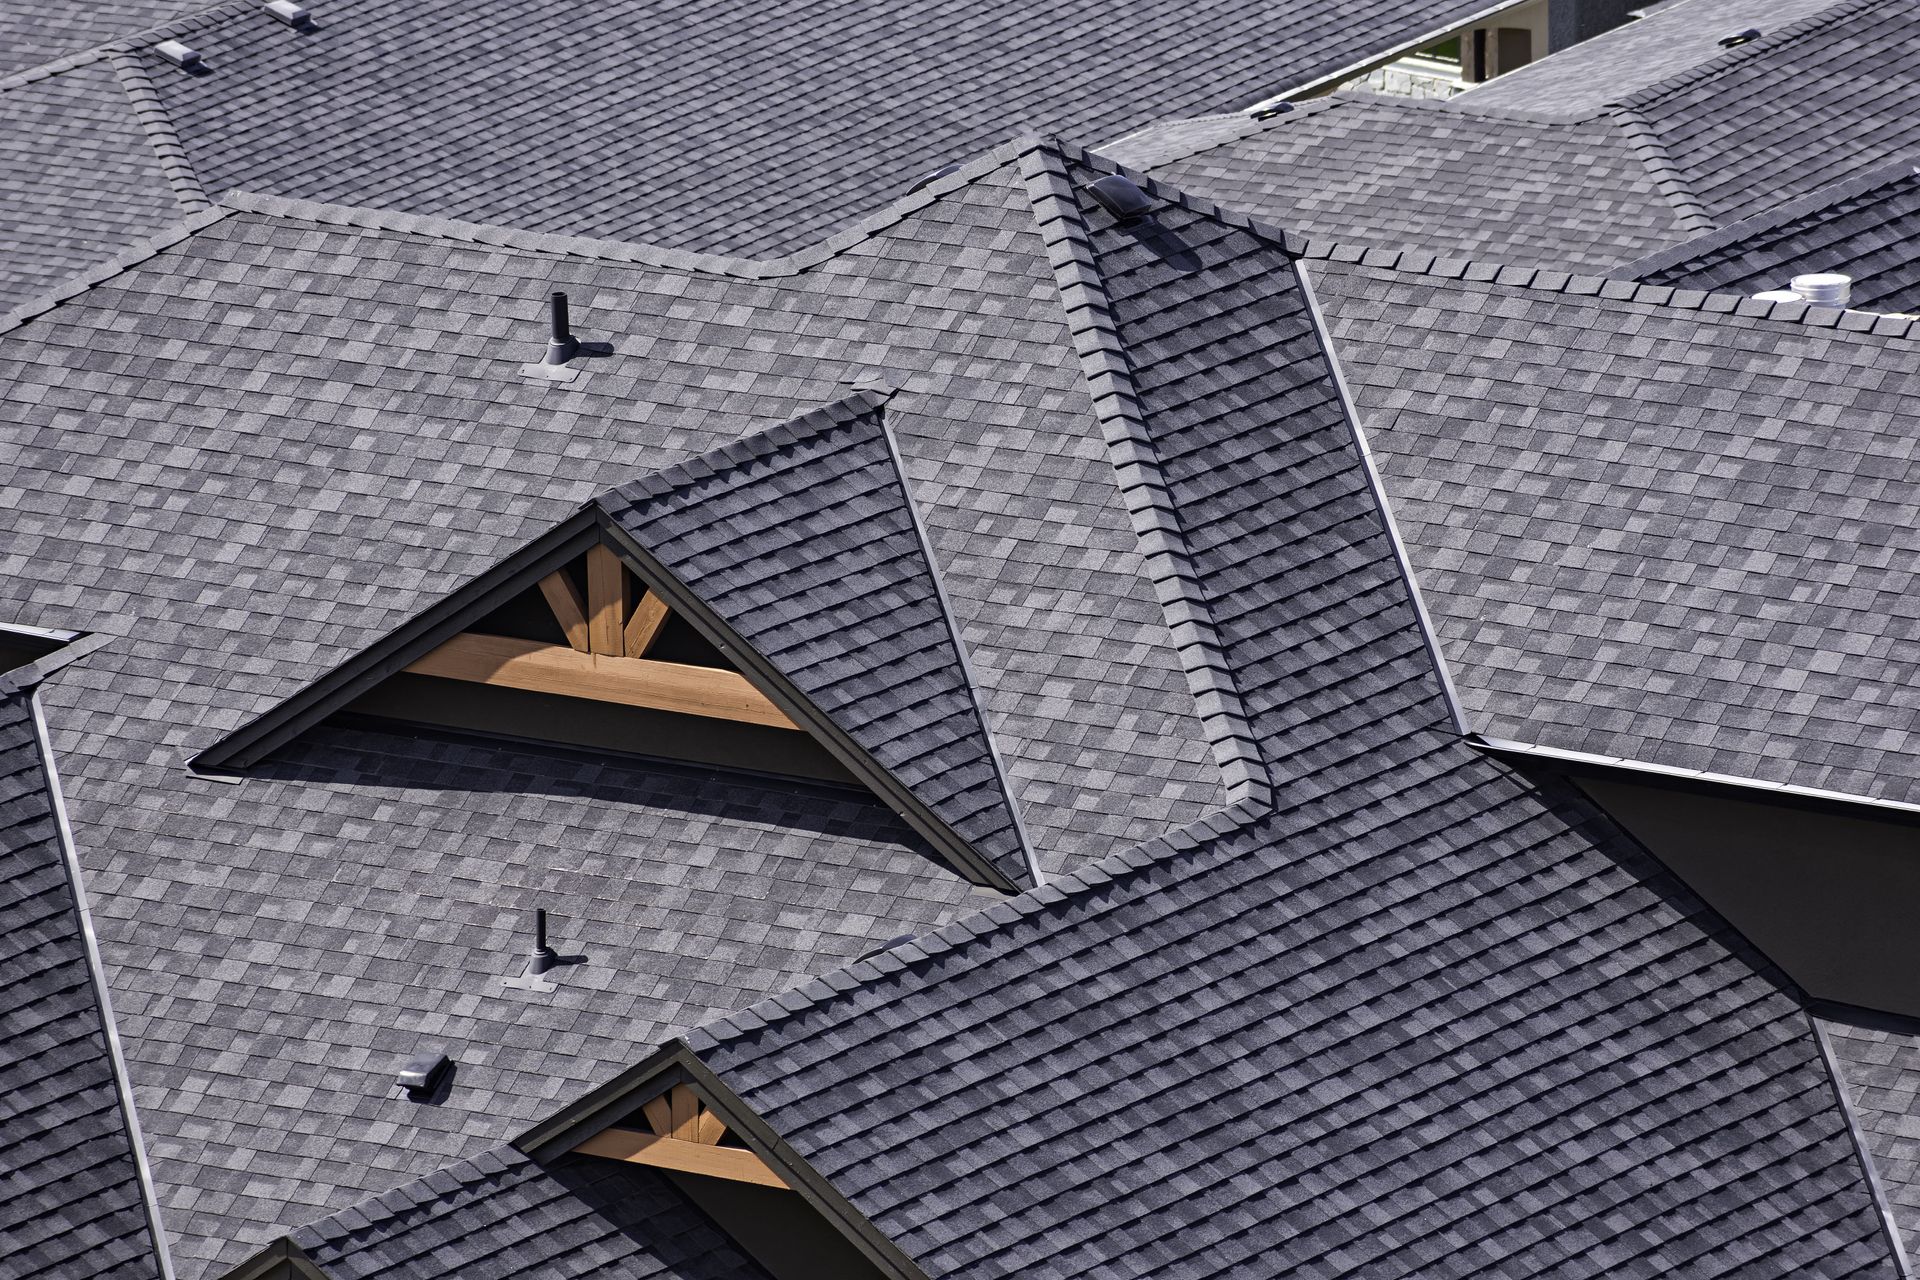
During this stage, the workers will also install new flashing around the most vulnerable areas of your home. Flashing consists of thin metal pieces designed to direct water away from critical intersections, such as chimneys, ventilation pipes, dormers, and skylights. A high-quality roof installation relies heavily on proper flashing techniques to prevent stubborn leaks from developing in these high-risk areas over time. The team will also add a new ridge vent along the peak of your home to optimize air circulation.
Managing the Noise and Daily Disruption
It is important to understand that a construction site is loud, busy, and disruptive. The hammering, scraping, and heavy foot traffic will begin early in the morning and continue until the sun goes down. If you have sensitive pets, small young children, or work from home, you should seriously consider staying somewhere else during the daytime.
The duration of a standard roof installation depends heavily on the size of your home and the complexity of the architectural design. A straightforward, single-family home can often be completed in just one or two days, provided the weather cooperates. However, homes with steep slopes, multiple valleys, or unexpected wood rot can require three to four days of intense labor. Maintaining open communication with your project manager will help you stay informed about the timeline and any necessary adjustments.
Cleaning Up the Debris and Nails
A reputable contractor treats your property with total respect, which means the cleanup phase is just as important as the building phase. Once the final shingle is nailed into place, the crew will begin a meticulous sweep of your entire yard. They will gather up large scraps of packaging, leftover materials, and old shingle pieces to toss into the dumpster.
To ensure your family and pets remain completely safe, the team will perform these specific cleanup protocols:
- Raking the lawn: Workers will rake through your grass and bushes to collect hidden debris and small pieces of underlayment.
- Using magnetic sweeps: The crew will roll a large, powerful magnetic roller across your driveway, sidewalks, and lawn to collect dropped nails. They will typically repeat this magnetic sweeping process several times to catch any metal pieces that bounced during the teardown.
- Inspecting the gutters: The team will clear out any stray granules or small construction debris that fell into your gutter system during the project.
A thorough cleanup ensures that you are left with a flawless new system and zero hazardous waste left behind in your grass. Professional crews understand that a stray nail can cause a flat tire or injure a playful pet, so they treat the final inspection of your lawn with the same seriousness as the roofing work itself. By dedicating time to cross-checking every square foot of your outdoor living spaces, the workers leave your home looking immaculate, safe, and completely ready for you to enjoy.
Conducting the Final Inspection and Walkthrough
The very last step of your
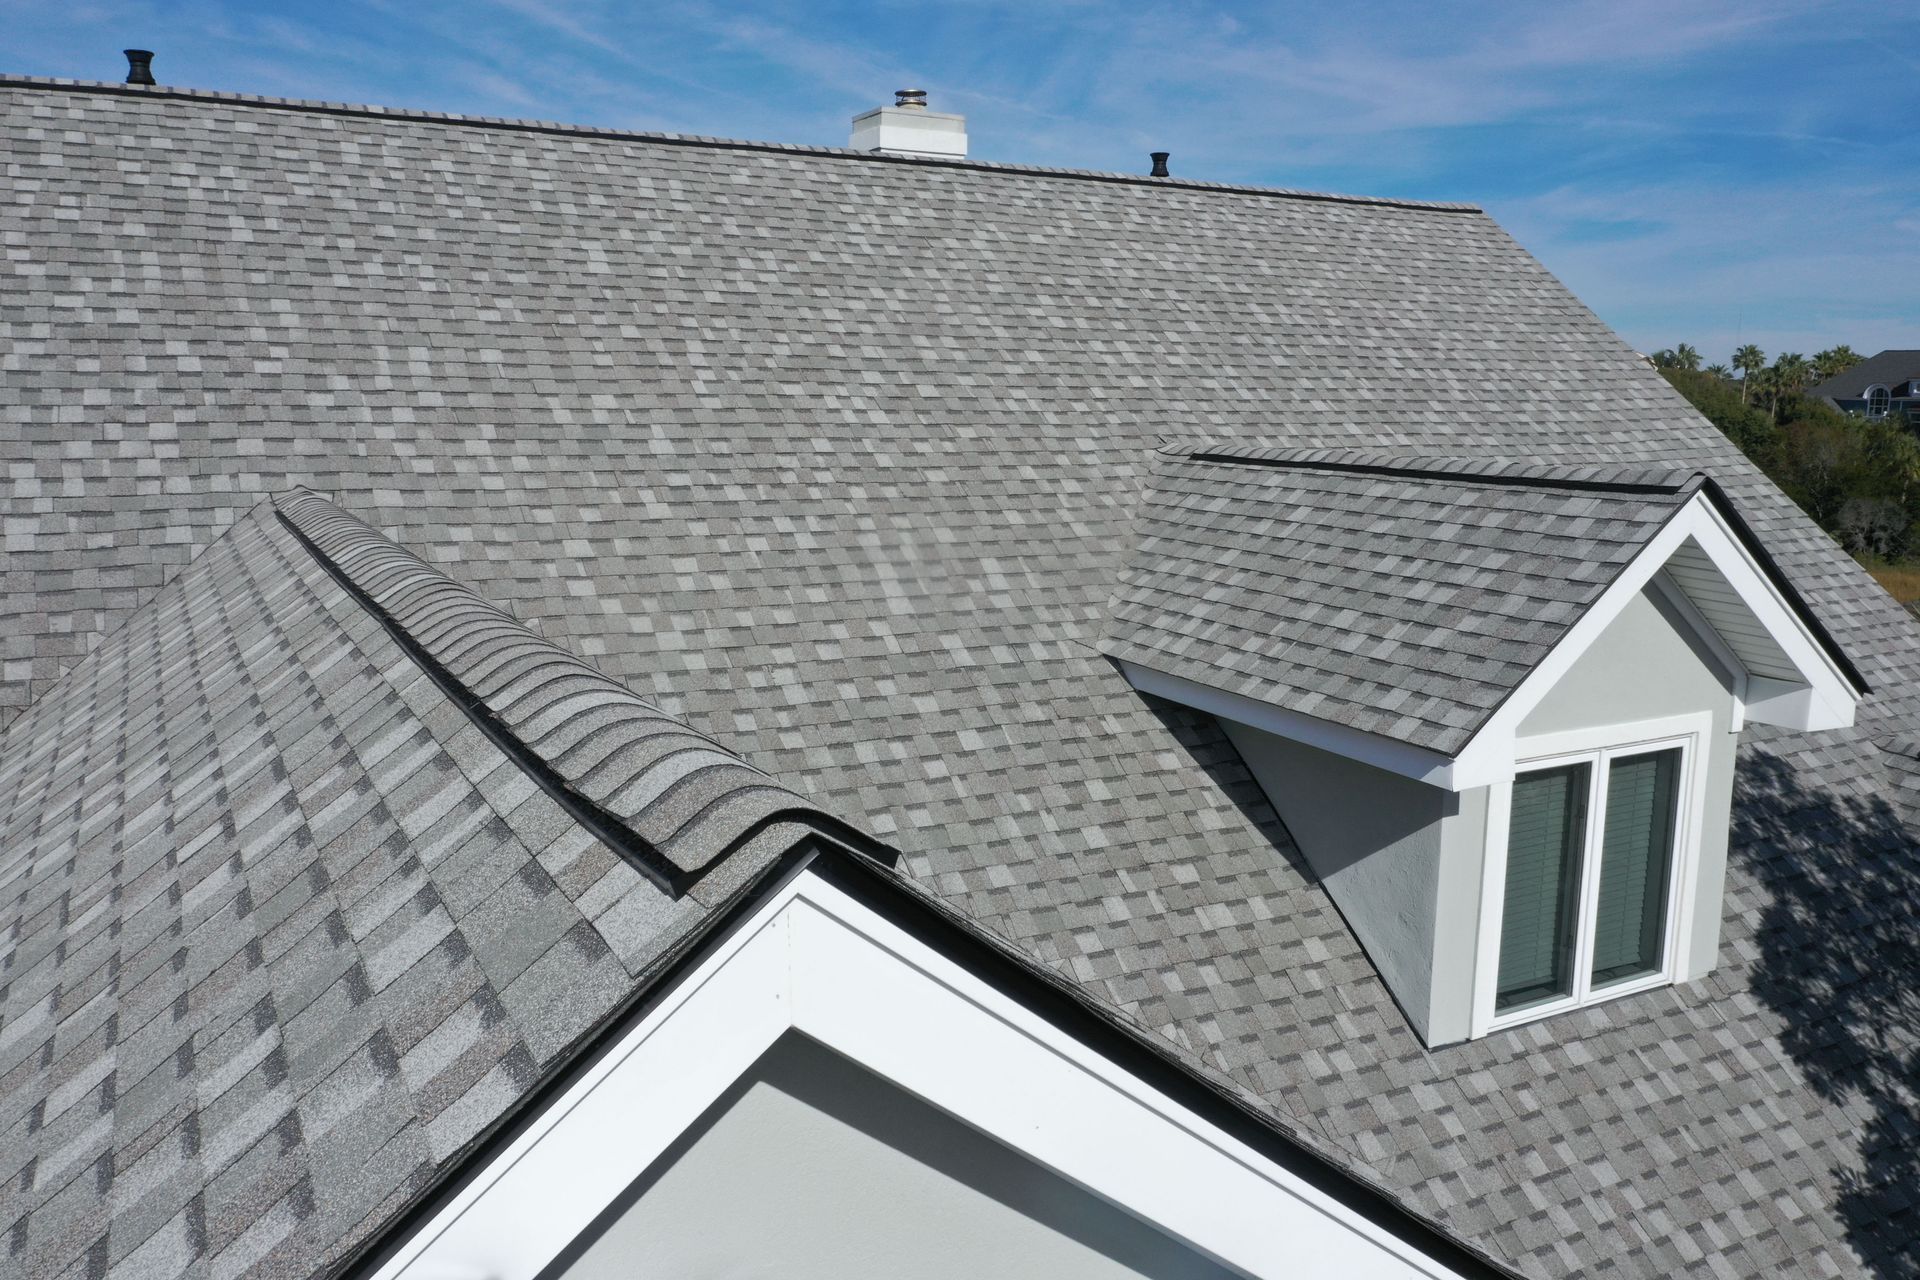
roof installation is the official final inspection. The project supervisor or a company inspector will climb back onto the roof to review the quality of the craftsmanship. They will carefully verify that the shingles are laid perfectly straight, the flashing is tightly sealed, and the ventilation system is clear of any obstructions.
Once the inspector is satisfied with the results, they will invite you outside for a comprehensive final walkthrough. This is your golden opportunity to look over the work, ask any specific questions about your new system, and verify that your property is completely clean. The supervisor will explain your material warranties, provide care tips, and hand over the final paperwork for your records. This structural upgrade boosts your home's curb appeal, increases your overall property value, and protects your family for decades to come. For dependable service and a flawless project from start to finish, trust the experienced team at Rapid Roofing, Inc.


Share On: